Bill Murray – Step by Step
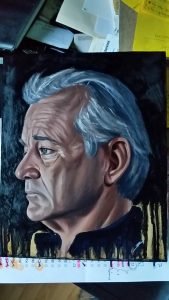
It’s been a while since I’ve posted anything of worth, but I thought I’d share my experience and knowledge on a fun painting I did of Bill Murray. I did this painting for an upcoming show in San Francisco and I usually take photos between sessions. I haven’t painted too much on panel, but wanted to increase my knowledge of it and utilize this type of surface more since to me, it’s a bit more versatile than canvas and more affordable than linen.
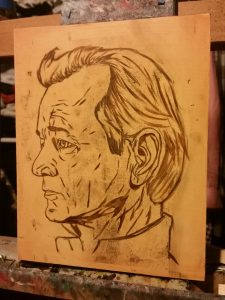
I always start by gessoing the panel and smoothing it down with a plastic painters spatula. I sand the first layer down using a 120 grit sandpaper, then 200-220 on the last layers. After the gesso is dry and sanded to a smooth surface, I generally tint the surface with a medium tone. I used burnt umber and some turp on this one, let it sit a while then wiped it away with a rag to get an even tone and let it dry. Afterwards I draw out on paper the line work that will be transferred on the panel.
There are several ways to transfer a drawing, I’ve linked some helpful videos below if you’ve never done this before.
You can use an oil transfer: David Gray
You can use transfer paper: Justin Hillgrove
You can use pencil/charcoal transfer
If you’re not into transferring, you can always use a grid: Jason Morgan
I did a charcoal transfer and went over my line work with some burnt umber and turp to solidify the lines a bit.
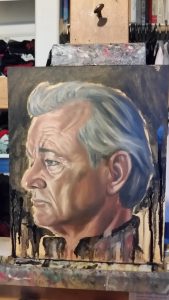
I like to let my lines dry a bit before I go in on the first pass, but you can start immediately as well. I spent about 6 hours on the first pass, establishing my values first then skin tone/color and getting everything covered at once. I tend to not spend much time on details until the end, but I do make notes to myself on where they’ll be needed later on.
For the first layer, I used a method of painting I learned while at a workshop with Carl Dobsky of Safehouse Atelier formerly in San Francisco, now in LA. The method he taught was Grisaille, it was something I’ve heard of and seen but never really attempted. It’s taken some getting used to, but I’ve started using it more and more as time goes on and I’m very fond of using this method since it establishes a solid foundation to a painting, particularly if you’re going for realism. Once I let the first layer dry overnight I come back and continue on with the method I learned and start to add more colors. I go onto the second pass, concentrating on fleshing the face out, rendering it and smoothing things out to look slightly less “painterly”.
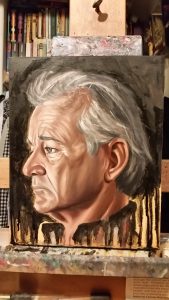
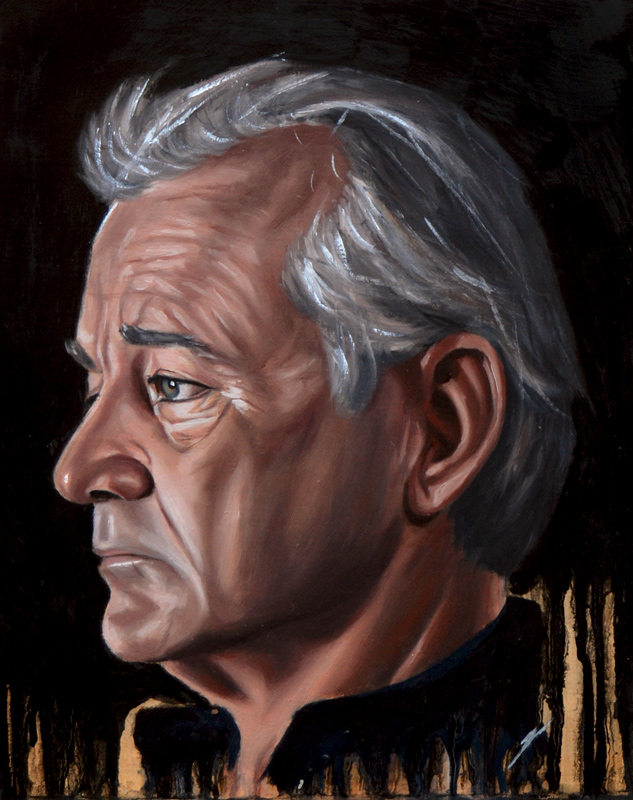
The 2nd and subsequent layers for me are all about making things look more realistic and spending more time on details. Now that I have my values keyed in and tones and chroma are set I can make my last marks. I try not to make the highlights and deep shadows too strong and keep things looking natural. I make sure to I let the 2nd layer dry and add a bit of medium to ‘oil out’ the painting to bring out the dark values. I examine the painting as a whole and assess whether I need to touch anything up or fix any mistakes.
The Final Painting below: Bill Murray 8×10 oil on panel.
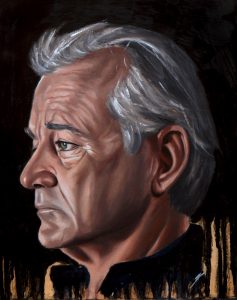
I’m pretty satisfied by the way this came out and you can see the real thing on July 23rd in San Francisco at Public Works.
You can also read about the show in this SF Weekly Article where my painting is featured.
EDIT 9/13/18:
This painting has since sold and was published in a Bill Murray art book that can be purchased on Amazon!
